Apply Even Time Intervals on Pivot Tables
This applies to: Visual Data Discovery
For more information about even time intervals, see Even Time Intervals.
To apply even time intervals to data on pivot tables:
-
Edit a dashboard with a pivot table that uses a data source containing date or time fields.
-
If you are editing the visual in a dashboard, select Settings from the visual drop-down menu. The sidebar menu for the visual appears.
If you are editing the visual from the Visual Gallery, the sidebar appears to the right of the visual.
-
Select
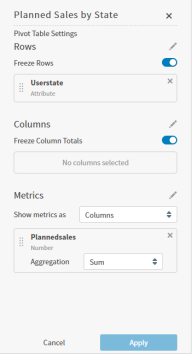
 on the sidebar menu. The Pivot Table Settings sidebar for the visual appears.
-
On the sidebar, select
 in Rows or Columns and select a time field for the row or column. Select OK.
 The time field is selected and expands so you can select its granularity and even time intervals setting.

-
Select the granularity for the time field.
-
Slide Include Blanks on to request even time intervals. By default, the ability to show all values is disabled and only attributes with a value greater than NULL are displayed.
-
Select Apply to apply the changes to the pivot table.
-
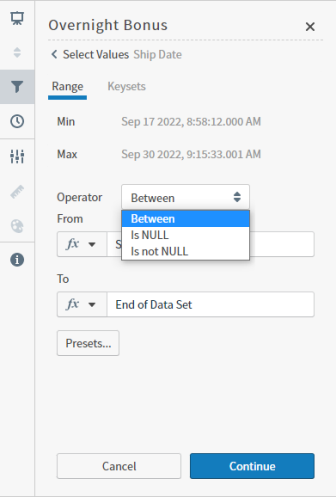
Optionally, select Filter to include a Null filter on the Range tab as needed:
- Apply
Is not NULLto hide null values - Apply
Is NULLto include only null values

Select Continue to add the filter, then Apply to apply your changes to the pivot table.
- Apply