Connecting to Google Sheets
This applies to: Managed Dashboards, Managed Reports
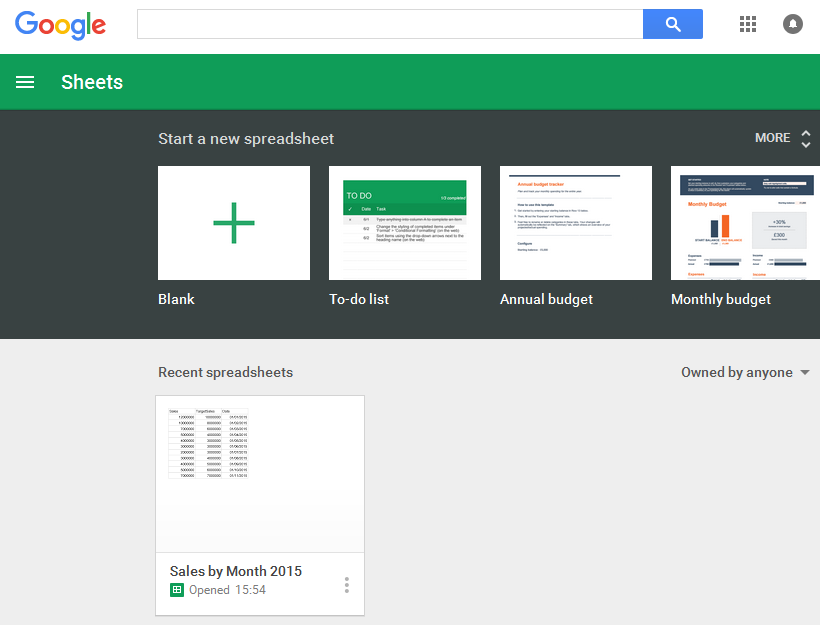
Google Sheets are spreadsheets that you can create and edit online.
This article shows you how to set up a data connector in Symphony to load data from a Google spreadsheet via the Google Drive API.
See the following sections:
Setup
Create or Choose a Project
Go to https://console.cloud.google.com/ and sign into your Google account.
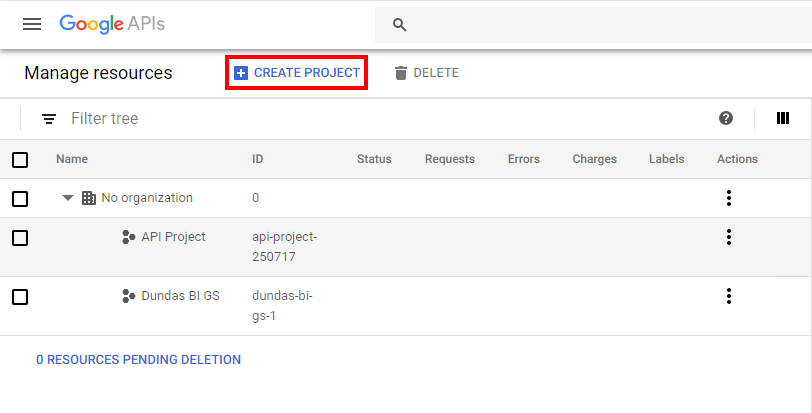
Once signed in, you can create or choose an existing project to use. The current project is often listed at the top of the screen and you can click to see a list of projects and switch between them or to create a new one.
The cloud resource manager page should also list your projects and allow you to create a new one.
Enable the Drive and Sheets APIs
Click to access the navigation menu from the top-left corner, hover over APIs and services and select Library.
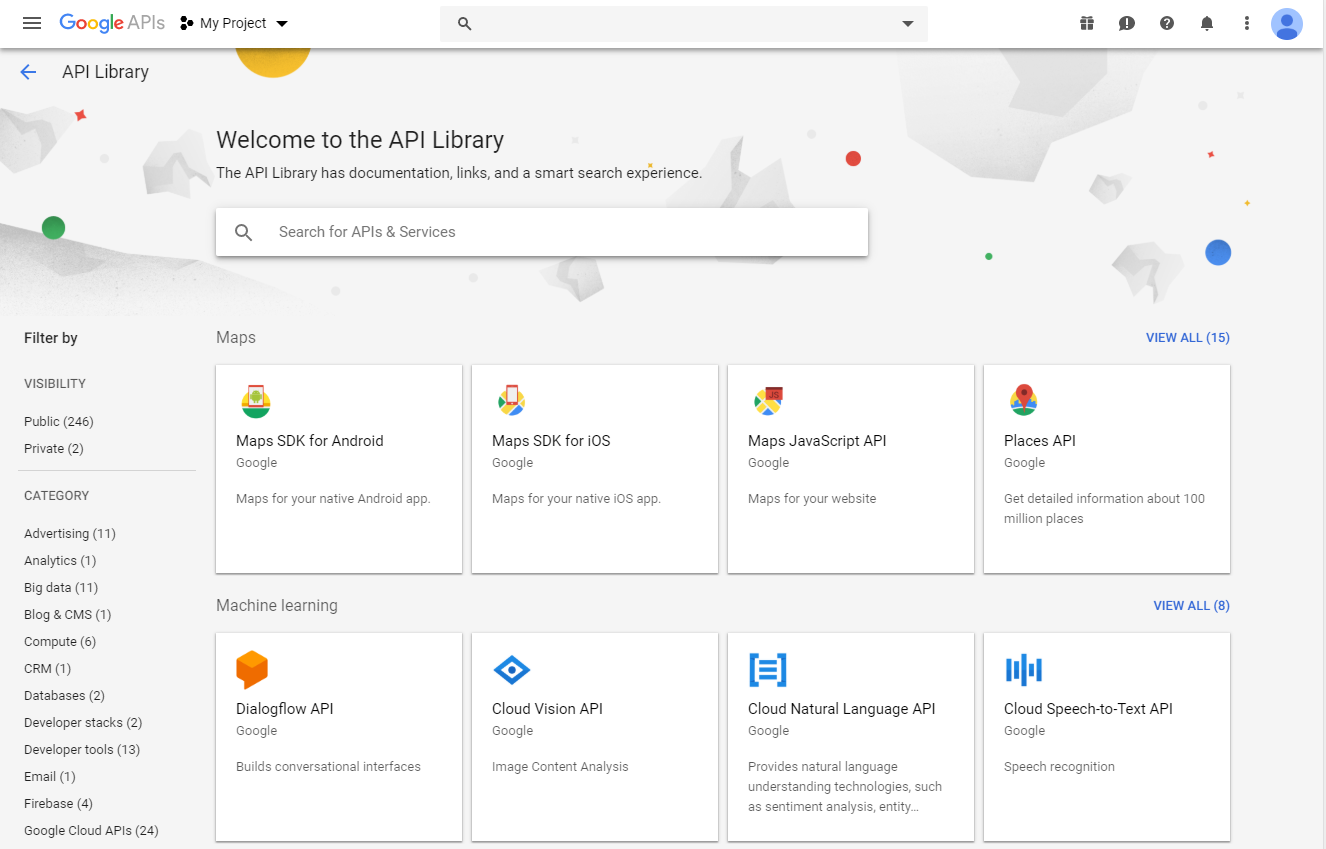
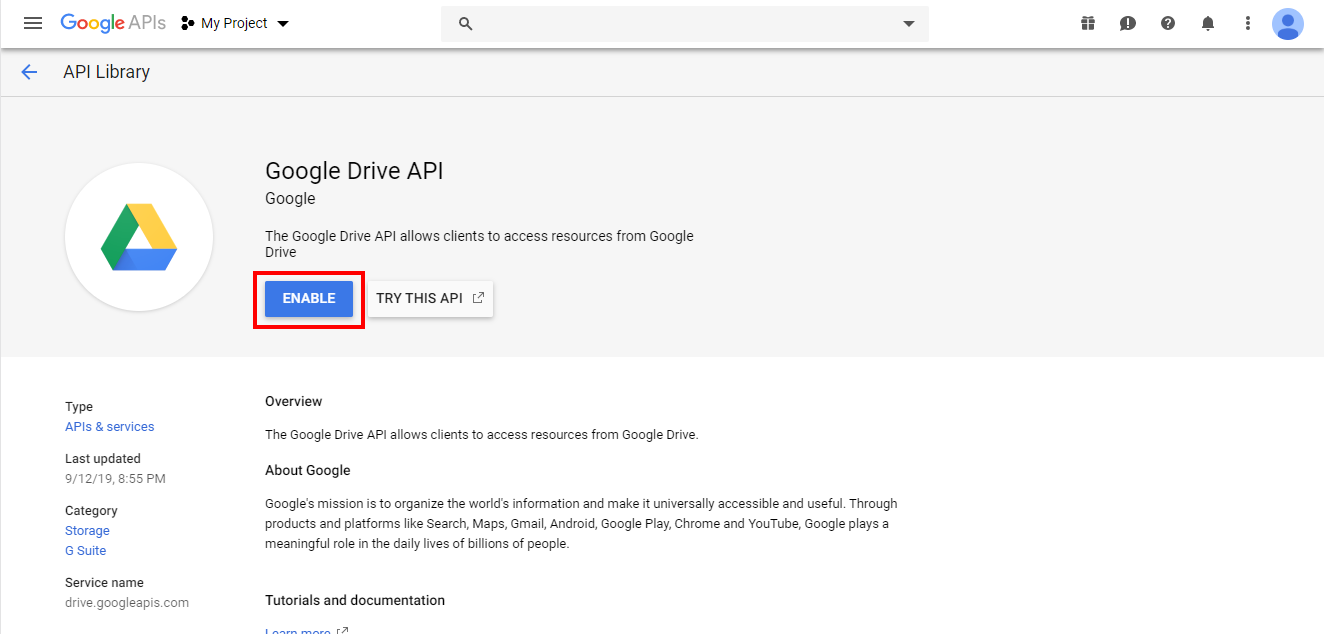
Ensure the correct project is selected at the top of the page, then search for and select Google Drive API.
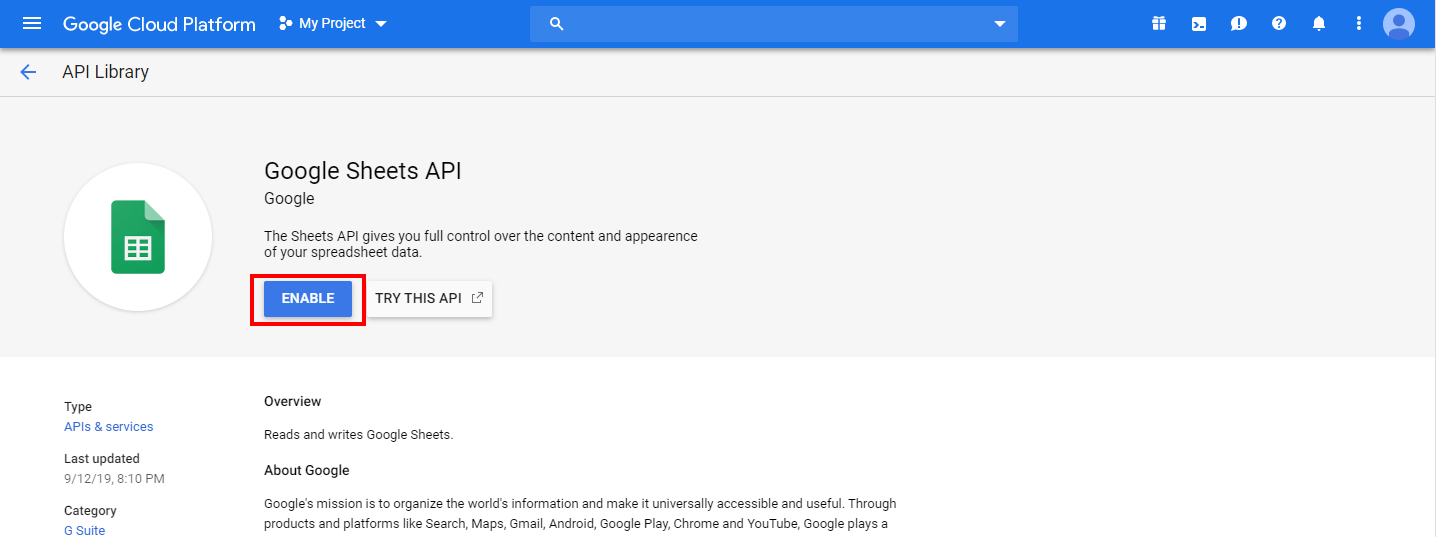
Select Enable.
Return to the library, then search for and select Google Sheets API.
Select Enable.
Service Account Credentials
Service account credentials allow Symphony to access your data from Google.
To create credentials, from the navigation menu, hover over APIs and services and select Credentials. On the Credentials page, select Create credentials and select Service account.
.png)
Enter a name and role for your service account.
When done, record the service account's e-mail address, for example by opening Notepad on your computer and pasting it.

Next, add a key to your service account. For example, click to edit the new service account, go to the Keys tab if applicable, and select Add Key. Choose a JSON key type.
When finished, a certificate file should be downloaded. This file will be needed later to set up a data connector in Symphony.
P12 file type
If you require the P12 file type instead of the default JSON, you will require some additional information.
A popup will appear displaying the password for the private key. Copy and paste this with the service account's e-mail address for later use.
Authorization
Now that the credentials have been generated, they must also be authorized to access the spreadsheet data. There are a couple of ways to proceed depending on the type of account used to create the spreadsheets.
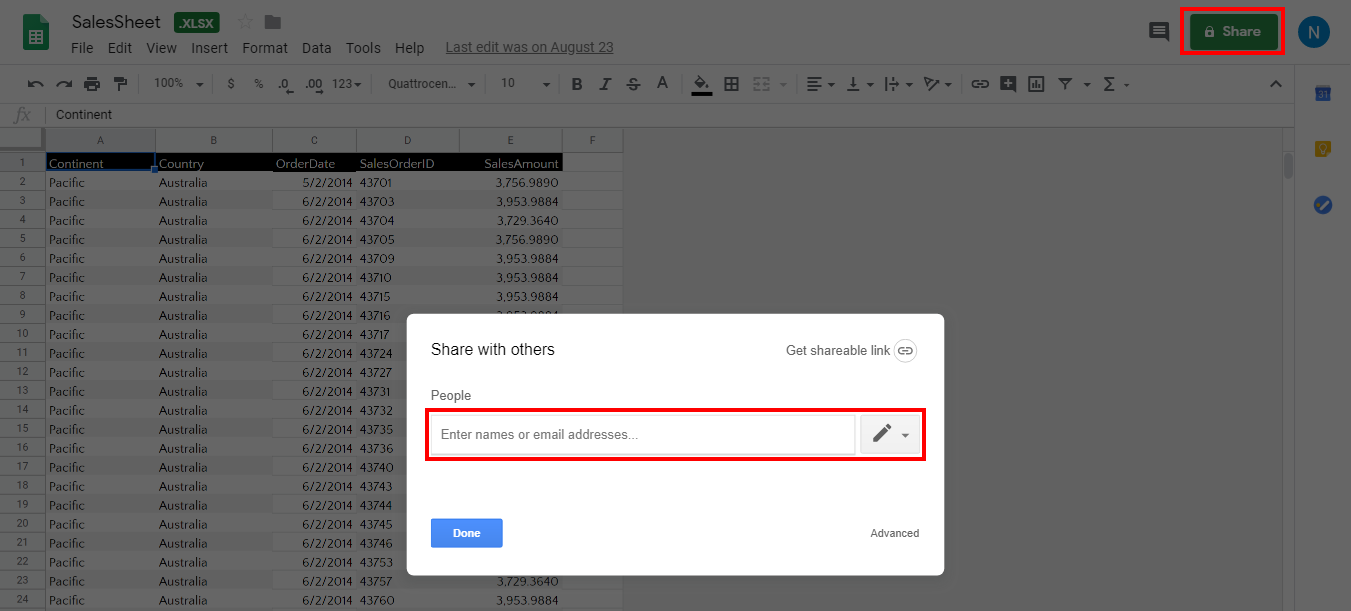
If you used a Gmail account to create your spreadsheets, first sign into Google Sheets. Open a spreadsheet that you want to connect to from Symphony. Select Share in the top right corner.
Enter the Service account email address which you recorded previously (e.g., in Notepad), or it may be automatically suggested if you've already used it. Customize the permission level to Viewer and clear the option to notify if preferred, then select Share or Send.
If the spreadsheets you want to connect to were created with a Google Apps domain account, your Google Apps domain administrator must perform the authorization. The steps are generally described here: Delegate domain-wide authority to your service account. You'll need the Client ID for the service account (see previous section) and also make sure the API Scopes field includes the following:
https://docs.google.com/feeds,https://spreadsheets.google.com/feeds
Data Connector
Log on to Symphony and create a new data connector.
Enter a Name for the connector, then set the Data Provider drop-down to Google Sheets.
Select Choose File and select the certificate file which you downloaded.
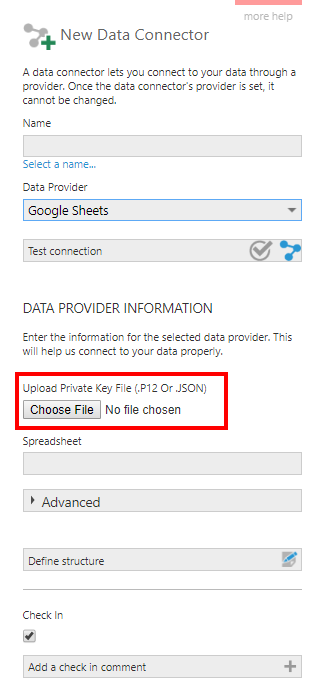
- If the certificate file is of a P12 file type, you now have to provide the Service Account E-Mail Address and Password For the .P12 File that you recorded previously.
- If you are using the Delegate domain-wide authority authorization method, click to expand the Advanced options to enter the User Account E-mail Address for the account that created the spreadsheets. Otherwise, leave this field blank.
Type in the title of your Spreadsheet, or select from the popup that appears below this field.
You can include the wildcard characters * or ? in the spreadsheet title to refer to multiple spreadsheets with the same structure. This will access their combined data from the same data connector, like in the example shown for Excel.
Select Submit at the bottom of the dialog to save and check in the data connector and automatically discover the data's structure.